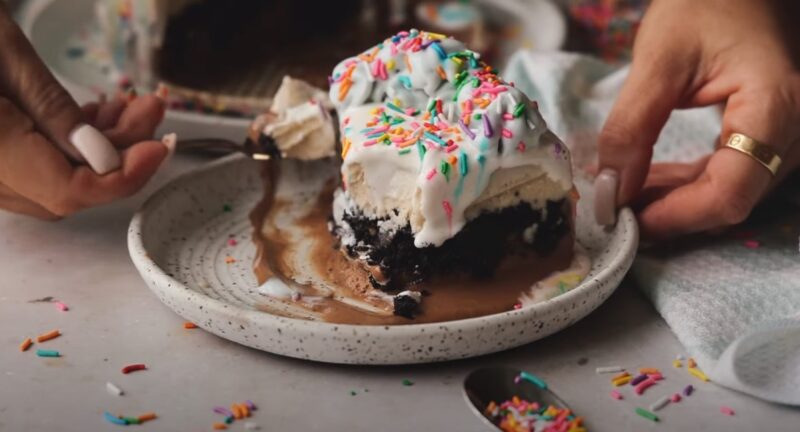
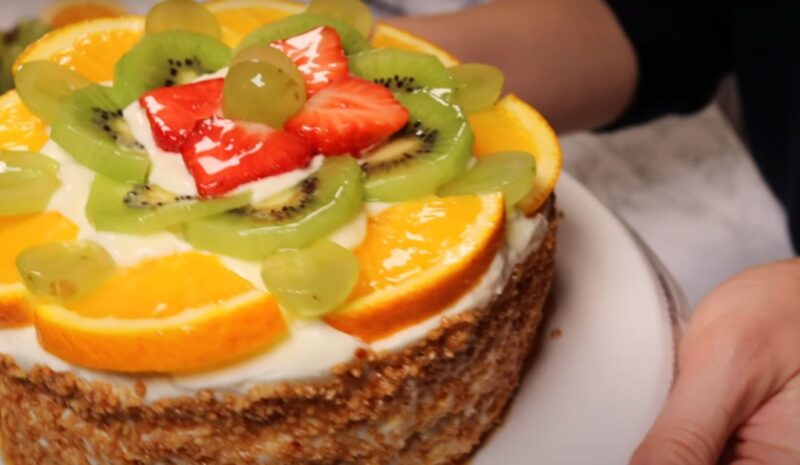
Welcome to a culinary adventure where indulgence meets health-conscious choices. Today, we embark on a journey to create a dessert that’s not just a treat for the taste buds but also a nod to sustainable eating. We’re crafting a frozen dessert, synonymous with celebrations and joyous occasions, yet reimagined to suit a plant-based lifestyle.
This recipe stands out for its simplicity and the fusion of traditional flavors with modern, health-friendly ingredients. It’s designed to be easy, requiring minimal effort but delivering maximum flavor.
Ingredients and Equipment

The first step before you start playing around in the kitchen is to get all you need for a preferred recipe. Here are the essentials.
What Ingredients to Get?
Crafting this delightful frozen treat involves a blend of select ingredients, each contributing to its unique taste and texture. Our focus on plant-based components ensures that every spoonful is both delicious and mindful of dietary choices.
- Cashews (Raw, Unsalted): These nuts, soaked overnight, form the creamy base, offering richness without dairy.
- Coconut Milk (Full-fat): It adds to the lushness, making each bite velvety.
- Maple Syrup: A natural sweetener, it imparts a subtle sweetness without overpowering.
- Vanilla Extract: Just a dash to infuse that classic aroma and flavor.
- Sea Salt: A pinch to enhance the overall taste profile.
- Arrowroot Powder: This helps in thickening the mixture, ensuring a smooth consistency.
- Sprinkles (Vegan, Gluten-free): For that festive touch, mimicking the joyous essence of a celebratory cake.
What About the Equipment?
The preparation of this dessert doesn’t require professional tools, making it accessible for home cooks. The following kitchen essentials will suffice:
- High-Powered Blender: To blend the cashews and other ingredients into a smooth mixture.
- Mixing Bowls: Various sizes for different stages of mixing.
- Measuring Cups and Spoons: For accurate ingredient proportions.
- Whisk: To thoroughly combine the dry ingredients.
- Ice Cream Maker: For churning the mixture into a creamy consistency.
- Freezer-Safe Container: To store and set the final product.
Alternative Ingredients

Understanding that not all ingredients may be readily available, here are some substitutes:
- Almonds or Macadamia Nuts: In place of cashews, though the flavor profile will slightly change.
- Agave Syrup: An alternative to maple syrup, offering a similar sweetness.
- Cornstarch: Can be used instead of arrowroot powder for thickening.
Equipment Substitutions
Not everyone might have an ice cream maker at home. However, there are workarounds:
- Hand Mixer: Use it to whip the mixture before freezing, though the texture might be less creamy.
- Freezer Method: Freeze the mixture for an hour, then stir vigorously and repeat until the desired consistency is achieved.
Step-by-Step Recipe Guide
Step 1. Make the Base
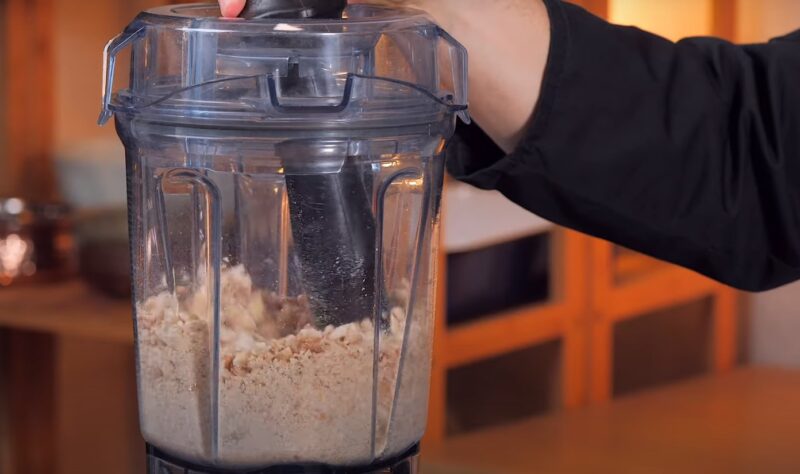
- Preparation of Cashews: Begin by draining the soaked cashews. Place them in your blender, ensuring they’re well-rinsed and free from excess water.
- Blending for Creaminess: Add the full-fat coconut milk to the blender along with the cashews. Blend on high until the mixture reaches a smooth, creamy consistency. This step is crucial for achieving the right texture.
- Incorporating Sweetness and Flavor: To the blended mix, add maple syrup, a dash of vanilla extract, and a pinch of sea salt. Blend again until all the ingredients are well combined and the mixture is homogenous.
Step 2. Additional Details
- Mixing Dry Ingredients: In a separate bowl, whisk together arrowroot powder and a small amount of coconut milk to create a smooth paste. This step prevents lumps in the final product.
- Combining with the Base: Pour the arrowroot mixture into the blender with the creamy base. Blend for a minute to ensure thorough mixing. This integration is key to a silky-smooth texture.
- Final Touch of Festivity: Stir in vegan, gluten-free sprinkles. The sprinkles should be folded gently into the mixture to maintain their color and form.
Step 3. Freezing to Perfection
- Churning the Mixture: Pour the prepared mixture into your ice cream maker. Follow the manufacturer’s instructions for churning. Typically, it takes about 20-30 minutes for the mixture to reach a soft-serve consistency.
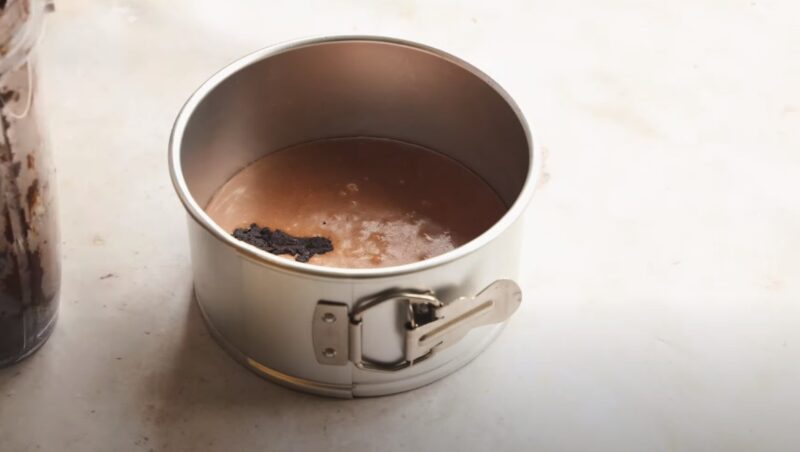
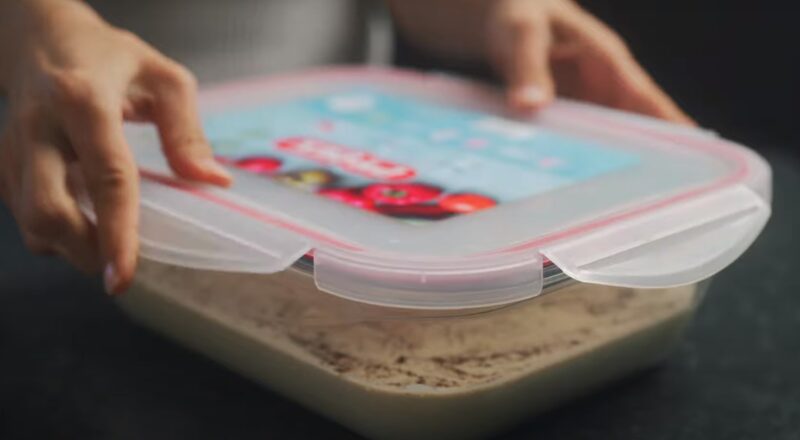
- Freezing for Firmness: Transfer the churned mixture into a freezer-safe container. Spread it evenly and cover the surface with wax paper to prevent ice crystals.
- Setting Time: Freeze for at least 4 hours, or overnight, for the mixture to firm up. The longer it sets, the better the texture.
Here are the simple instructions:
| Step | Action | Duration |
|---|---|---|
| 1 | Blend cashews and coconut milk | Until smooth |
| 2 | Add sweeteners and flavorings; blend | 1 minute |
| 3 | Mix arrowroot with coconut milk, blend into mixture | 2 minutes |
| 4 | Fold in sprinkles | 1 minute |
| 5 | Churn in ice cream maker | 20-30 minutes |
| 6 | Freeze in container | 4 hours to overnight |
Are There Any Health Benefits?
Primarily, it is often lower in saturated fats, a characteristic largely attributed to the absence of dairy products. This reduction in unhealthy fats is beneficial for heart health and cholesterol levels. Moreover, ingredients like cashews and coconut milk provide healthy fats, essential for brain function and skin health. Another significant benefit is the higher fiber content found in such desserts.
Fiber, mostly absent in traditional dairy-based options, aids in digestion and can contribute to better gut health. Additionally, the use of natural sweeteners like maple syrup not only reduces the intake of processed sugars but also offers minerals like manganese and zinc.
Dietary Inclusivity
This recipe caters to a broad spectrum of dietary needs and preferences. It’s not just for those following a vegan lifestyle, but also for individuals with lactose intolerance or allergies to dairy products.
By using plant-based ingredients, it ensures that more people can enjoy a sweet treat without the worry of allergic reactions or dietary conflicts.
Customization and Serving Ideas
The versatility of this dessert lies in its ability to be customized to suit varied palates. Here are some creative ways to tweak the recipe:
- Flavor Variations: Experiment with different extracts like almond or coconut to introduce new flavors. Spices such as cinnamon or nutmeg can also add a warm twist.
- Fruit Infusions: Blend in fruits like strawberries or mango for a fruity variant. You can also stir in fruit purees after churning for a ripple effect.
- Texture Add-Ins: Consider mix-ins like crushed vegan cookies, chocolate chips, or nuts for added crunch and flavor layers.
Dietary Adaptations
For those with specific dietary requirements, the recipe can be easily modified:
- Sugar Alternatives: Use stevia or erythritol for a lower-calorie sweetener option.
- Nut-Free Version: Swap cashews for sunflower seeds or a nut-free vegan cream base.
- Soy-Based Variant: Incorporate silken tofu for a protein-rich, creamy texture, substituting part of the cashew base.
Presentation and Pairing
The final touch to any dessert is how it’s served and what it’s paired with. Here are some suggestions:
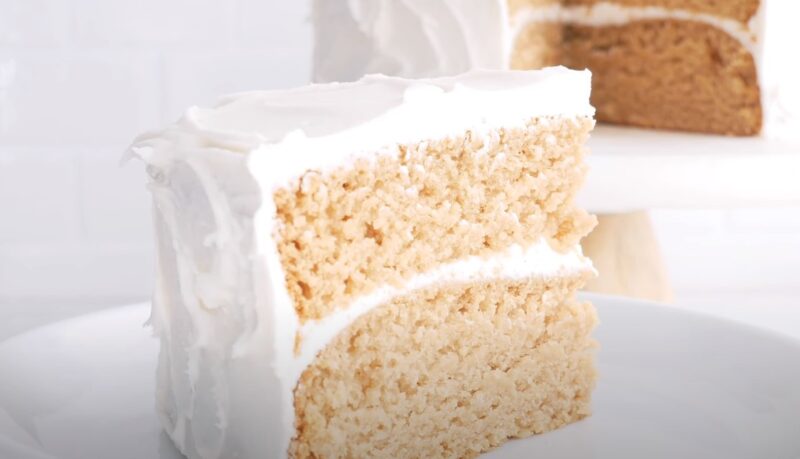
- Elegant Plating: Serve scoops in chilled bowls with a garnish of fresh mint or edible flowers for a sophisticated look.
- Dessert Pairings: Complement the ice cream with other vegan desserts like a slice of gluten-free chocolate cake or fresh fruit tarts.
- Beverage Combinations: Pair with a cup of hot, herbal tea or a chilled glass of dessert wine for a balanced flavor experience.
FAQs
Can I make this recipe without an ice cream maker?
Absolutely! If you don’t have an ice cream maker, you can freeze the mixture for an hour, then whisk it vigorously and return it to the freezer. Repeat this process every hour for about 4-5 hours to help break up ice crystals and create a smoother texture.
Is there a way to make this recipe sugar-free?
Yes, you can make this recipe sugar-free by substituting maple syrup with a sugar-free sweetener like monk fruit or erythritol. Adjust the quantity to achieve your desired level of sweetness.
How long can I store this ice cream in the freezer?
This ice cream can be stored in an airtight container in the freezer for up to 2 weeks. Beyond that, it might start to develop ice crystals and lose its creamy texture.
Can I use store-bought cashew milk instead of blending raw cashews?
Yes, you can use store-bought cashew milk for convenience. However, for the creamiest texture, it’s recommended to use a homemade blend from soaked cashews, as store-bought versions are usually thinner.
What are some kid-friendly mix-ins I can add to this recipe?
Kids often enjoy colorful and fun mix-ins like mini vegan marshmallows, dairy-free chocolate chips, or even small pieces of vegan fruit jellies. Just ensure they are added after churning to maintain their texture.
Is this ice cream suitable for someone with a nut allergy?
This particular recipe uses cashews, so it’s not suitable for those with a nut allergy. However, you can substitute the cashews with sunflower seeds or use a nut-free vegan cream base to make it allergy-friendly.
Last Words
This recipe is more than just a dessert; it’s a celebration of flavors, health, and inclusivity. It showcases how simple ingredients, when combined thoughtfully, can create something truly extraordinary.